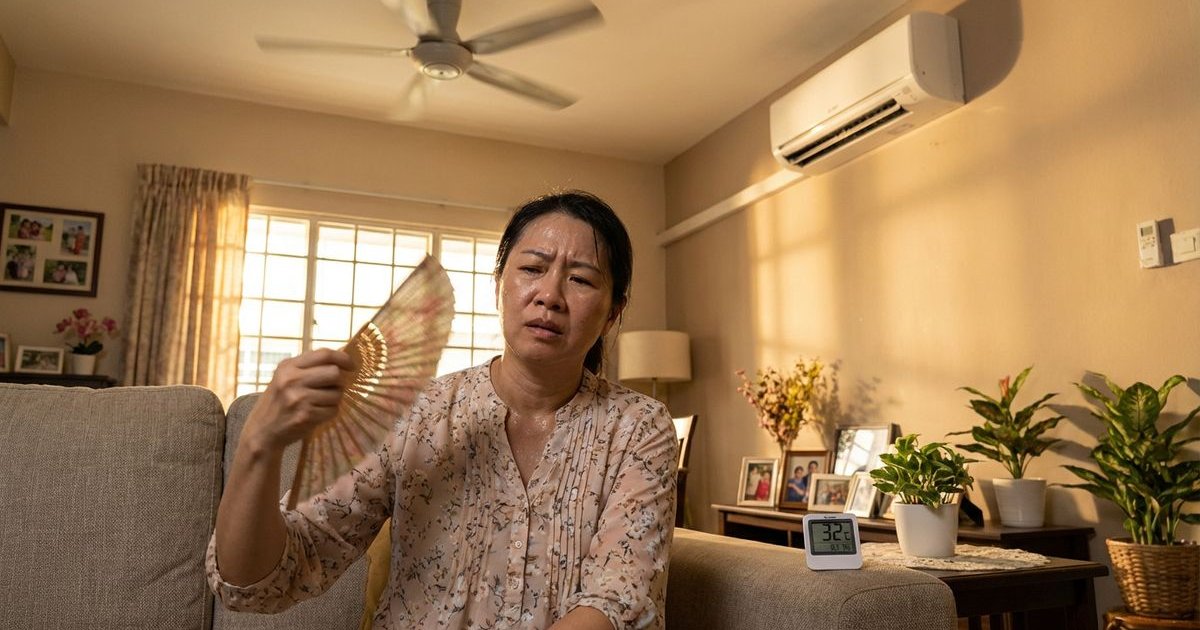
“My aircond is on, but it’s not cold!”
This is the single most frustrating sentence we hear from homeowners across Malaysia.
Sweating in your own living room is the last thing you want in our tropical climate.
Before you panic, you need to know that most cooling issues boil down to a few specific faults.
Some of these issues are simple DIY fixes you can handle in minutes.
Others will require a professional hand to resolve safely.
This guide will break down the 8 most common causes of warm airconds and give you the specific strategies to fix them.
1. Dirty Air Filters (DIY Fix)
A clogged filter is the number one reason for reduced cooling efficiency. When dust blocks the intake, your unit suffocates and cannot pull in enough warm air to cool down. According to the U.S. Department of Energy, simply replacing or cleaning a dirty filter can lower your air conditioner’s energy consumption by 5% to 15%.
Signs:
- Weak airflow coming from the vents.
- The unit runs constantly, but the room remains warm.
- Ice forming on the evaporator coils due to lack of airflow.
The Fix:
- Power down: Switch off the aircond at the wall socket.
- Access filters: Lift the front panel and slide out the mesh filters.
- Wash thoroughly: If they are grey with dust, wash them with water and mild soap in your bathroom.
- Dry and replace: Shake off excess water and let them air dry completely before putting them back.
Pro Tip: In Malaysia’s high humidity, dust sticks to filters faster. We recommend cleaning them every 2 weeks if you use your AC daily.
DIY Difficulty: Easy ⭐
2. Low Refrigerant (Gas)
Refrigerant is the lifeblood of your cooling system, and low levels indicate a leak. Your aircond does not “consume” gas like a car consumes petrol. It operates on a closed loop. If the gas level drops, it means there is a leak in the copper piping or flare nuts.
Signs:
- The air is room temperature or only slightly cool.
- You hear a distinct hissing sound near the indoor or outdoor unit.
- Ice accumulates on the copper pipes at the outdoor unit.
The Fix: This is strictly a job for professionals. A technician must:
- Use a manifold gauge to check pressure (PSI).
- Locate the leak using leak detection fluid or electronic sniffers.
- Repair the leak (often by re-flaring the copper pipe).
- Top up the gas (R32 or R410A depending on your model).
Warning: Do not accept a “gas top-up” without a leak check. The gas will simply leak out again within weeks.
DIY Difficulty: Not possible ❌ - requires specialized gauges and vacuum pumps.
3. Dirty Evaporator Coils
Dust that bypasses the filter settles on the cooling coils and creates an insulating layer. This layer prevents the refrigerant inside the coils from absorbing heat from your room. In our local climate, this dust often mixes with moisture to form a “jelly” or bio-slime that is difficult to remove.
Signs:
- Cooling performance drops gradually over several months.
- Electricity bills increase as the unit works harder.
- A musty or sour smell comes from the unit.
The Fix: Standard servicing might not be enough here. You likely need a Chemical Wash.
- Technicians use an alkaline-based chemical solution.
- This solution breaks down the stubborn bio-slime and grime deep between the aluminium fins.
- It restores the coil’s ability to transfer heat effectively.
DIY Difficulty: Professional recommended ⭐⭐⭐
4. Blocked Condenser (Outdoor Unit)
Your outdoor unit needs breathing room to release the heat it absorbed from your house. If the condenser fins are blocked, the heat remains trapped in the system. The compressor eventually overheats and shuts down as a safety precaution.
Signs:
- The outdoor unit feels extremely hot to the touch.
- The aircond runs for 10 minutes and then stops.
- Cooling is significantly reduced during hot afternoons.
The Fix:
- Inspect the perimeter: Check if potted plants, boxes, or outdoor furniture are crowding the unit.
- Clear the space: Ensure there is at least 60cm of clearance on all sides for proper heat dissipation.
- Clean the fins: Gently rinse the back of the unit with a garden hose (low pressure) to remove dust and dried leaves.
DIY Difficulty: Easy ⭐
5. Faulty Compressor
The compressor acts as the engine of your air conditioner. It circulates the refrigerant between the indoor and outdoor units. If this component fails, the cooling cycle stops completely.
Signs:
- The indoor fan runs, but the air is not cold.
- The outdoor unit shakes violently or makes a loud grinding noise.
- Your home’s circuit breaker trips immediately when the compressor kicks in.
The Fix: This is the most expensive part of an aircond.
- Capacitor Check: Sometimes, it is just a faulty start capacitor (a RM 150-200 fix) preventing the compressor from starting. Always check this first.
- Replacement: If the compressor itself is dead, replacement costs can range from RM 500 to over RM 1,500.
- Decision Time: If your unit is over 8 years old, buying a new inverter unit is often more economical than replacing a compressor.
DIY Difficulty: Not possible ❌ - professional repair required.
6. Thermostat or Sensor Issues
An incorrect temperature reading confuses the system’s control board. The thermistor (temperature sensor) tells the unit when the room is cold enough. If it is calibrated incorrectly or covered in dust, it may think the room is 24°C when it is actually 28°C.
Signs:
- The temperature display on the remote does not match how the room feels.
- The unit cycles on and off (short-cycling) rapidly.
- The unit ignores your remote control settings.
The Fix:
- Batteries: Replace the remote batteries first to rule out a weak signal.
- Manual Reset: Turn off the power supply at the main switch for 5 minutes to reset the board.
- Sensor Replacement: A technician can test the sensor’s resistance (usually 5k or 10k ohms) and replace it if faulty.
DIY Difficulty: Easy check ⭐, repair needs professional ⭐⭐
7. Incorrect AC Size (Undersized Unit)
An air conditioner that is too small for the room will never reach the desired temperature. This is common in open-plan living rooms or areas with high ceilings. In Malaysia, we generally calculate cooling needs based on British Thermal Units (BTU).
Signs:
- The unit runs at full speed constantly without cutting off.
- The room gets slightly cooler but never “cold.”
- The problem has existed since the very first day of installation.
The Fix: You cannot “fix” an undersized unit, but you can manage it or replace it.
- Calculation: For a standard room, multiply the square footage by 65. For a sunny room, multiply by 75.
- 100 sq ft ≈ 1.0 HP (9,000 BTU)
- 150 sq ft ≈ 1.5 HP (12,000 BTU)
- 200 sq ft+ ≈ 2.0 HP (18,000 BTU)
- Strategy: Close curtains during the day to reduce heat load or install a secondary fan to circulate air.
DIY Difficulty: Requires professional assessment ⭐⭐
8. Frozen Evaporator Coils
Ice on the coils acts as an insulator and blocks cold air from blowing out. It seems contradictory, but ice indicates the system is working too hard or airflow is restricted.
Signs:
- Visible frost or ice on the indoor unit filters.
- Water dripping onto the floor (as the ice melts).
- A hissing sound followed by no airflow.
The Causes:
- Extremely dirty filters (most common).
- Low refrigerant levels causing coil temperature to drop below freezing.
- Fan motor failure.
The Fix:
- Stop operation: Turn the unit off immediately to prevent compressor damage.
- Melt it: Let the ice melt naturally for 2-3 hours.
- Check flow: Clean the filters once the ice is gone.
- Test: Turn it back on. If ice returns, you have a refrigerant leak.
DIY Difficulty: Initial troubleshooting ⭐⭐, repair needs professional.
Quick Diagnostic Checklist
Run through this list before you spend money on a service call.
| Check This | Action Required |
|---|---|
| Filters | Remove and wash if grey/dusty. |
| Remote Batteries | Swap for fresh alkaline batteries. |
| Mode Setting | Ensure remote is on “Cool” (Snowflake icon), not “Fan” or “Dry”. |
| Temperature | Set to 20°C-22°C to test performance. |
| Outdoor Unit | Remove any boxes or debris blocking airflow. |
| Vents | Ensure furniture isn’t blocking the airflow path. |
When to Call a Professional
You should contact a technician immediately if you notice:
- ❌ Zero cold air even after 15 minutes of running.
- ❌ Grinding or screeching sounds (mechanical failure).
- ❌ Water leaking heavily inside the house.
- ❌ Burning smells or sparks.
- ❌ Circuit breaker trips repeatedly.
Cost Expectations (2025 Estimates)
Prices vary by region (KL/Selangor vs rural areas) and horsepower, but these are standard market rates.
| Issue | Typical Cost (MYR) |
|---|---|
| General Servicing | RM 80 - RM 120 |
| Chemical Wash (Wall Unit) | RM 150 - RM 250 |
| Gas Top-up (R32/R410A) | RM 50 - RM 150 |
| Gas Leak Repair | RM 250 - RM 450 |
| Capacitor Replacement | RM 150 - RM 250 |
| Compressor Replacement | RM 600 - RM 1,800+ |
Prevention is Cheaper
You can avoid 90% of these issues with a simple routine.
- Bi-weekly: Wash your filters.
- Quarterly: Schedule a general service if you use the AC every night.
- Yearly: Consider a chemical wash to remove deep-seated grime.
Need Help?
If you are still sweating after trying these tips, do not force the unit to run.
WhatsApp us a description of the issue or a photo of your unit.
We will advise you on whether it is a quick DIY fix or if you need a professional team to take a look.
Related Service: Need expert diagnosis? Our aircond repair service covers all issues from gas leaks to compressor problems with upfront pricing.
Need This Service?
Ready to put these tips into action? Our professional technicians are here to help.
Learn More About Our Service