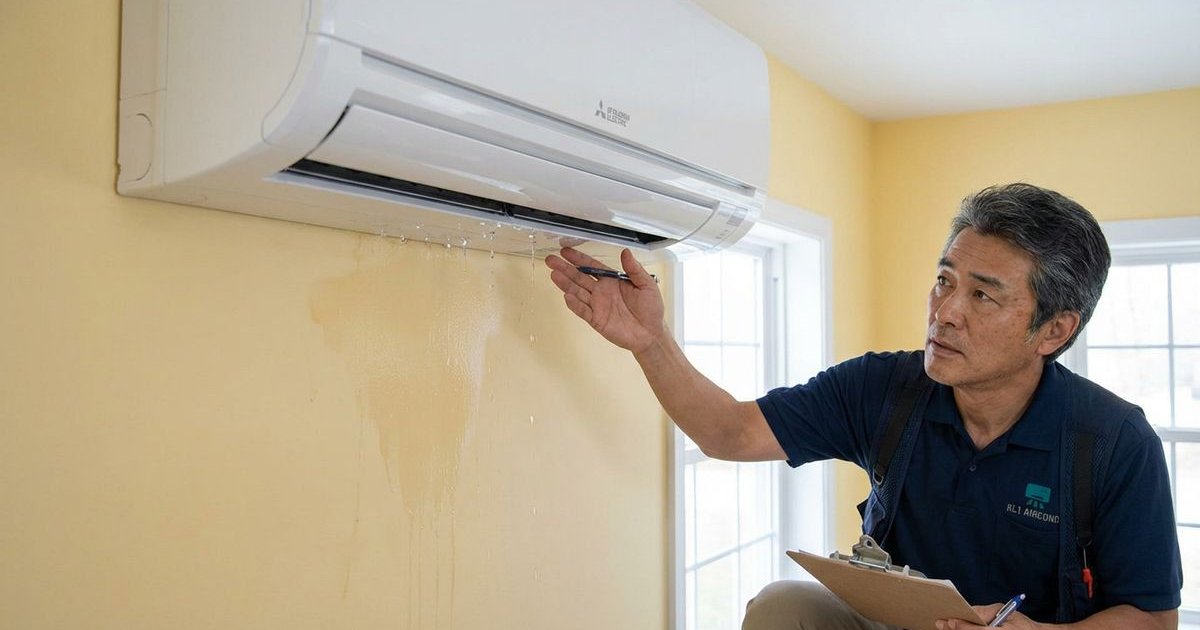
Water dripping from your air conditioner is urgent. It is not just a nuisance. That small puddle can quickly escalate into thousands of dollars in flooring damage and mold remediation.
Why is this happening right now? The short answer is that your AC’s drainage system has failed. Your unit naturally produces water (condensation) as it cools the air. When the path for that water to exit your home is blocked or broken, gravity takes over. The water has nowhere to go but onto your floor.
This guide explains exactly why your AC is leaking and provides the specific, US-based strategies you need to stop it before it becomes a disaster.
Why Does Water Form in Your AC?
You need to know how the system works to fix it. Water in your AC is actually a sign that it is doing its job.
- Warm Air Enters: Your system pulls hot, humid air from your home over the cold evaporator coils.
- Condensation Occurs: Moisture in the air hits the cold coils and turns into liquid water. This is identical to a cold soda can “sweating” on a hot day.
- Collection: This water drips into a primary drain pan.
- Drainage: A PVC condensate drain line carries the water out of your home.
A leak means step 4 has failed. The water is being produced, but it is trapped inside.
5 Common Causes of Water Leaks
1. Clogged Condensate Drain Line (The #1 Culprit)
The Problem: Over time, the moisture in your drain line creates the perfect breeding ground for algae, mold, and a sticky bacterial slime known as “zooglea.” This gunk builds up until it forms a solid plug in the white PVC pipe.
Signs:
- Water pooling around the indoor unit.
- Your Nest or Ecobee thermostat goes blank (if you have a safety float switch installed).
- A musty smell near the utility closet.
The Insider Solution: Most homeowners try to pour bleach down the line. Do not do this. Bleach can corrode copper coils and damage PVC glue.
- The Pro Method: Locate the drain line exit outside your house. Use a wet/dry vacuum (like a Shop-Vac) to suck the blockage out from the outside.
- Maintenance: Pour one cup of distilled white vinegar down the access point every month to kill algae safely.
DIY Difficulty: Medium ⭐⭐
2. Dirty Air Filters
The Problem: A clogged filter chokes your system. When airflow is restricted, the evaporator coils get too cold and freeze over into a block of ice. When the system shuts off, that ice melts rapidly. The sheer volume of water overwhelms the drain pan and overflows.
Signs:
- The filter looks gray and fuzzy.
- The house feels warm, but the air from the vents feels weak.
- You see physical ice on the copper lines.
Solution: Check your filter’s MERV rating. For most homes, a MERV 8 to 11 is ideal. Anything higher than MERV 13 can restrict airflow too much for older systems.
| Filter Type | Replacement Schedule |
|---|---|
| 1-inch Fiberglass | Every 30 days |
| 1-inch Pleated | Every 30-60 days |
| 4-inch Media Filter | Every 6-12 months |
DIY Difficulty: Easy ⭐
3. Low Refrigerant (Freon/Puron)
The Problem: Low refrigerant lowers the pressure in your system. This causes the evaporator coils to freeze, similar to a dirty filter. When the ice melts, it leaks.
The “So What”: You cannot just “top it off.” A system is a sealed loop. If it is low, you have a leak.
- Warning: If your system uses R-22 (Freon), be aware that the EPA phased this out in 2020. Repairs are extremely expensive.
- Modern Systems: Newer units use R-410A, which is cheaper but will also face restrictions starting in 2025.
Signs:
- Hissing or bubbling noises.
- The air coming out of vents is room temperature.
- Ice buildup on the refrigerant lines outside.
DIY Difficulty: Not possible ❌ (Requires EPA Section 608 Certification)
4. Rusted or Cracked Drain Pan
The Problem: Under your indoor coil sits a drain pan. In older units (12+ years), these were often made of galvanized steel. Over time, the standing water rusts right through the metal.
Signs:
- The water is dripping directly from the bottom of the unit, not overflowing the top.
- You see rust stains on the furnace or air handler.
- The unit is over 10 years old.
Solution: You need a professional to replace the pan. Ask them to install a safety float switch (like the Ceiling Saver). This $50 device shuts off the AC automatically if water creates a risk of overflow.
DIY Difficulty: Professional required ⭐⭐⭐
5. Improper Installation
The Problem: If your central air unit was recently installed, the issue might be gravity. The unit must be level, and the drain line must have a “P-trap” to prevent sewer gases from backing up. If the trap is missing or the slope is wrong, water will not flow out.
Signs:
- The problem has existed since day one.
- Water pools in the corner of the drain pan.
- The drain line travels uphill at any point.
Solution: A professional must re-level the unit or re-pipe the drain line.
DIY Difficulty: Professional required ⭐⭐⭐
Quick DIY Troubleshooting
Try these steps before you pay for a service call.
Step 1: The Vacuum Trick
Go outside and find the white PVC pipe near your condenser unit. Put your wet/dry vacuum hose over the end of the pipe and run it for 1 minute. This clears 80% of clogs.
Step 2: The Filter Check
Pull your filter out. Hold it up to a light. If you cannot see light through it, replace it immediately.
Step 3: The Ice Melter
Look at the copper pipes entering your indoor unit. Are they white with frost?
- Action: Turn the thermostat from “Cool” to “Fan Only.”
- Wait: Let the fan run for 2-3 hours to melt the ice safely into the drain pan.
Step 4: The Pour Test
Find the drain line access point (usually a T-shaped pipe with a cap near your indoor unit). Pour a cup of water into it. If it backs up instantly, the clog is deep. If it flows, your pan might be cracked.
When to Call a Professional
Call a licensed technician if:
- ❌ The wet/dry vacuum method did not clear the drain.
- ❌ You see ice returning even after changing the filter.
- ❌ There is water damage on your ceiling or drywall.
- ❌ You hear hissing sounds (refrigerant leak).
Need professional help? Our water leaking repair service includes full drainage system clearing, leak detection, and permanent fixes.
Prevention Tips
You can prevent 90% of leaks with a simple routine.
Pro Tip: Ask your technician to install a condensate pump if your unit is in a basement. These pumps actively push water up and out, preventing gravity-based backups.
| Action | Frequency | Cost (Est.) |
|---|---|---|
| Change Filter | Every 1-3 months | $10 - $20 |
| Vinegar Flush | Monthly | $1 |
| Pan Tablets | Every 6 months | $15 |
| Professional Tune-up | Annually | $75 - $150 |
The Hidden Cost of Ignoring Leaks
Ignoring a small drip is the most expensive mistake homeowners make. Here are the average US repair costs for water damage:
| Damage Type | Estimated Repair Cost (USD) |
|---|---|
| Drywall Patch & Paint | $300 - $800 |
| Hardwood Floor Repair | $2,000 - $5,000+ |
| Mold Remediation | $1,500 - $6,000 |
| Ceiling Restoration | $500 - $1,200 |
Compare this to a simple service call, which typically costs between $100 and $250.
Temporary Measures While Waiting for Repair
If you cannot get a technician out until tomorrow:
- Shut It Down: Turn the system off to stop producing water.
- Soak It Up: Use towels or a wet/dry vac to remove standing water immediately.
- Check the Float: If you have a safety switch, ensure it is dry so the system does not short cycle.
Common Misconceptions
“It’s just condensation, it’s harmless.” False. Condensate water contains bacteria and biological growth. It is “gray water” and can make pets sick if they drink it.
“I need to add Freon to stop the leak.” This is a dangerous myth. Adding refrigerant to a leaking system is illegal under EPA regulations without fixing the leak first. It also will not stop a water leak caused by a clogged drain.
“I can just caulk the leak.” Never apply sealant to the outside of the unit to stop water. The water will just build up inside and destroy your electrical components.
Summary
Most AC leaks are caused by a simple clogged drain line or a dirty filter. You can fix these yourself with a vacuum and a fresh filter. However, if you suspect low refrigerant or a rusted pan, you need a pro.
Is your AC leaking? WhatsApp us for quick diagnosis and affordable solutions.
Related Service: Visit our aircond repair service for all repair needs including water leaking repair.
Need This Service?
Ready to put these tips into action? Our professional technicians are here to help.
Learn More About Our Service